Navigating Your MetaMonster Table
Master the MetaMonster table interface to organize, filter, and manage your SEO data. Learn about columns, sorting, filtering, and preparing data for optimization.
The table is the core of MetaMonster. This guide shows you how to navigate it, organize your data, and prepare for optimization work.
Understanding your tabs
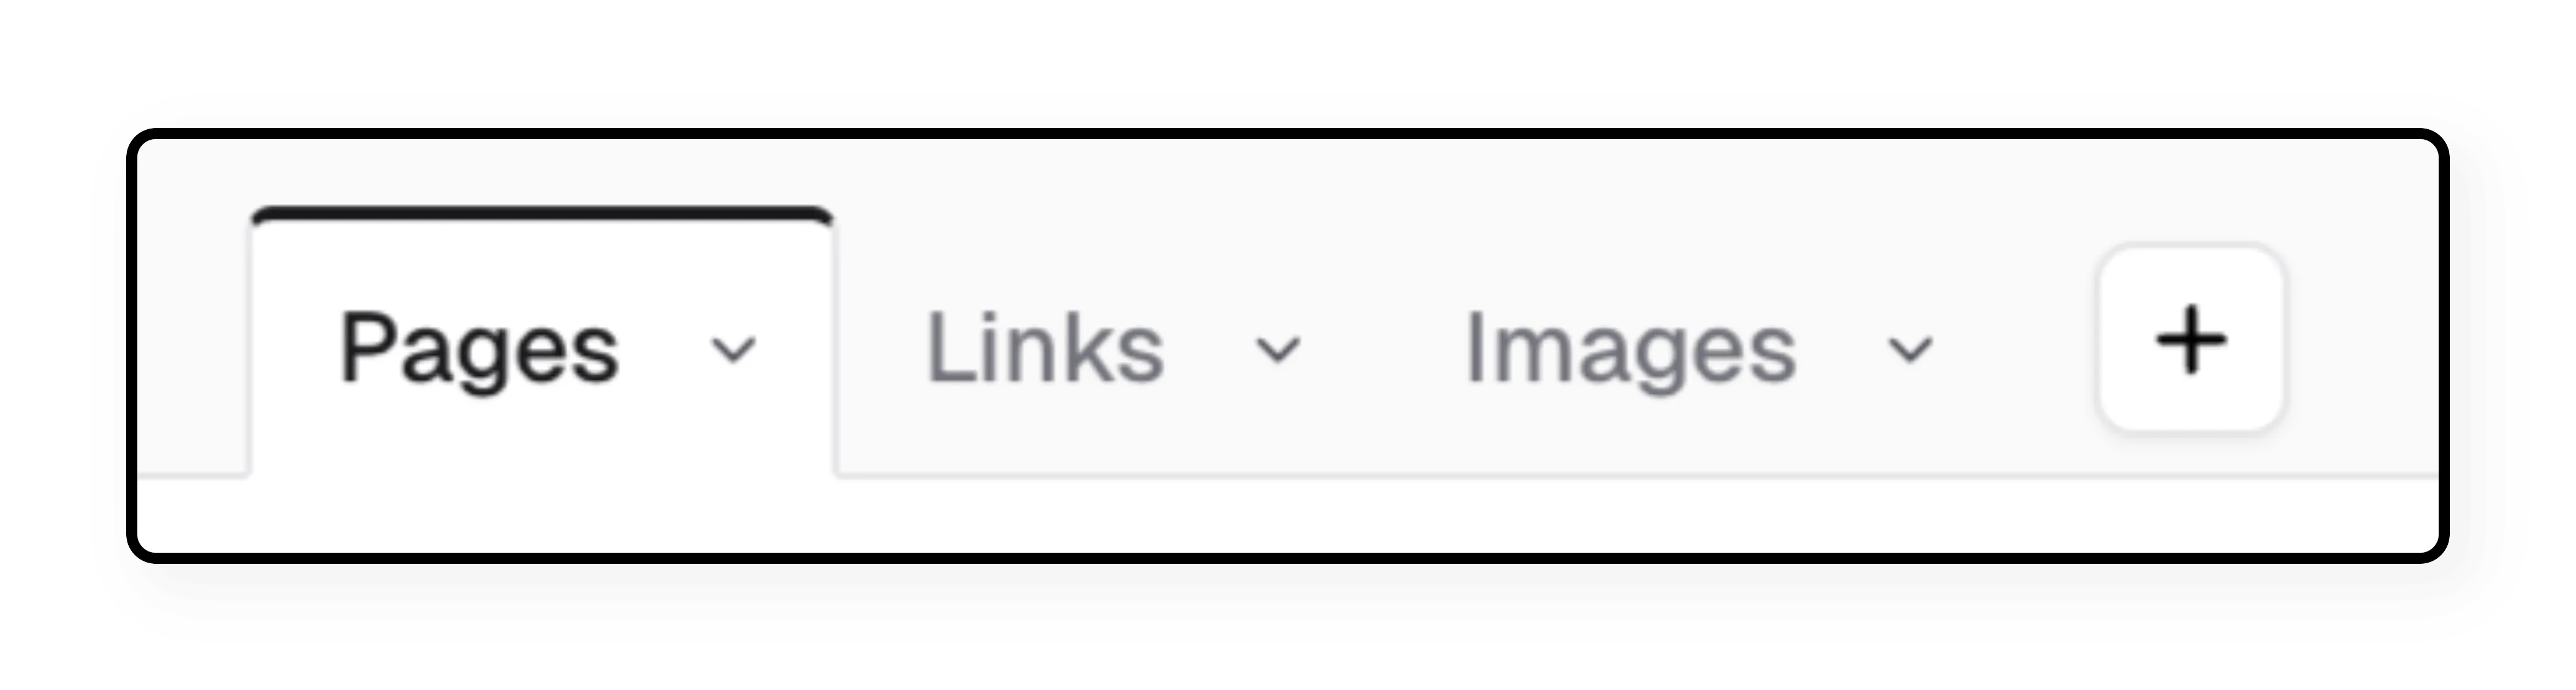
When your crawler finishes, you’ll see three tabs in your table:
Pages: Your main workspace showing all crawled pages and their SEO elements. This is where you’ll spend most of your time.
Links: All links across your site organized by destination type, anchor text, and source page.
Images: All images from your site with URLs and alt text. Useful for bulk image optimization.
Default columns in the Pages tab
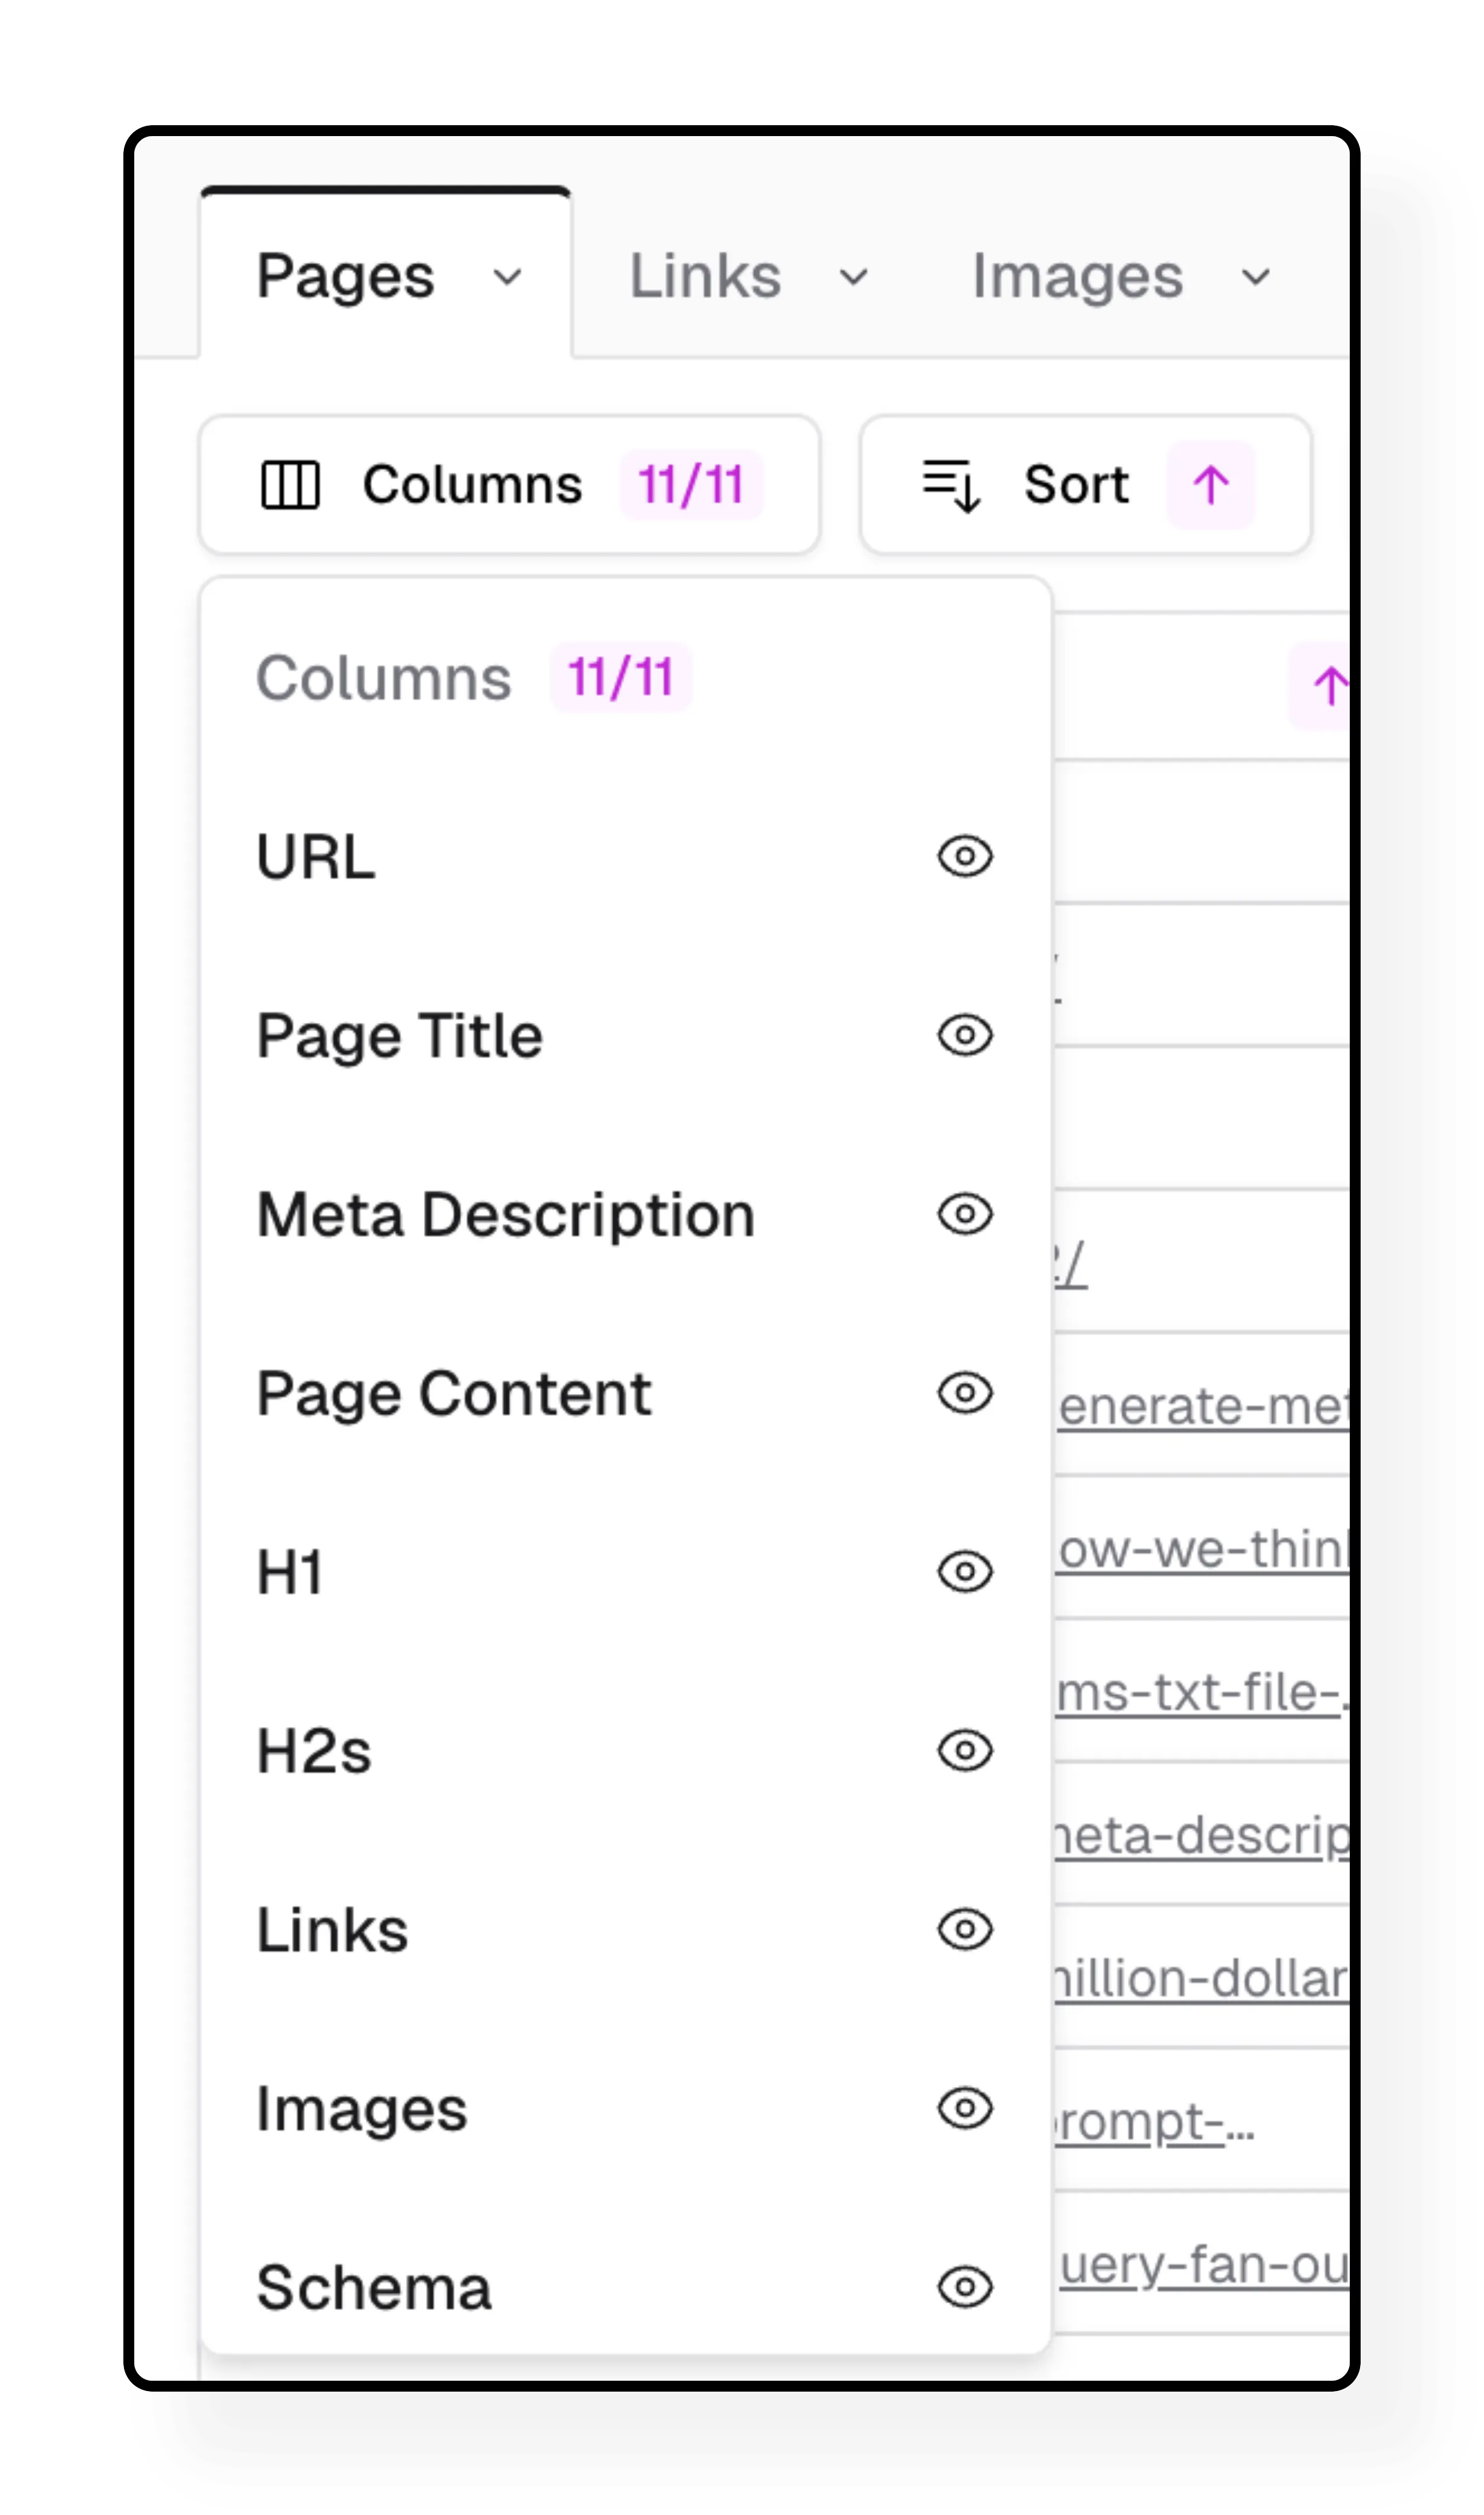
Your Pages tab includes these columns by default:
- URL
- Page title
- Meta description
- Page content (markdown version of your HTML - easier for AI to work with)
- H1s and H2s
- Links
- Images
- Schema markup
- Open Graph attributes
- Raw HTML
Viewing all columns: Click “Columns” in the toolbar and scroll through the list. Check or uncheck any column to show or hide it in your table.
Working with individual cells
Every cell in your table has a few options:
Open: Click to see the full content in a larger view
Edit: Make changes to the content. You can view the prompt that generated it (if applicable), save your changes, or cancel
Copy: Click the copy icon to grab the content and paste it elsewhere
![]()
Sorting your data
Click any column header to sort by that column. You can sort ascending or descending.
This is useful for finding pages with the longest content, identifying missing titles, or organizing by URL structure.
Filtering to focus on what matters
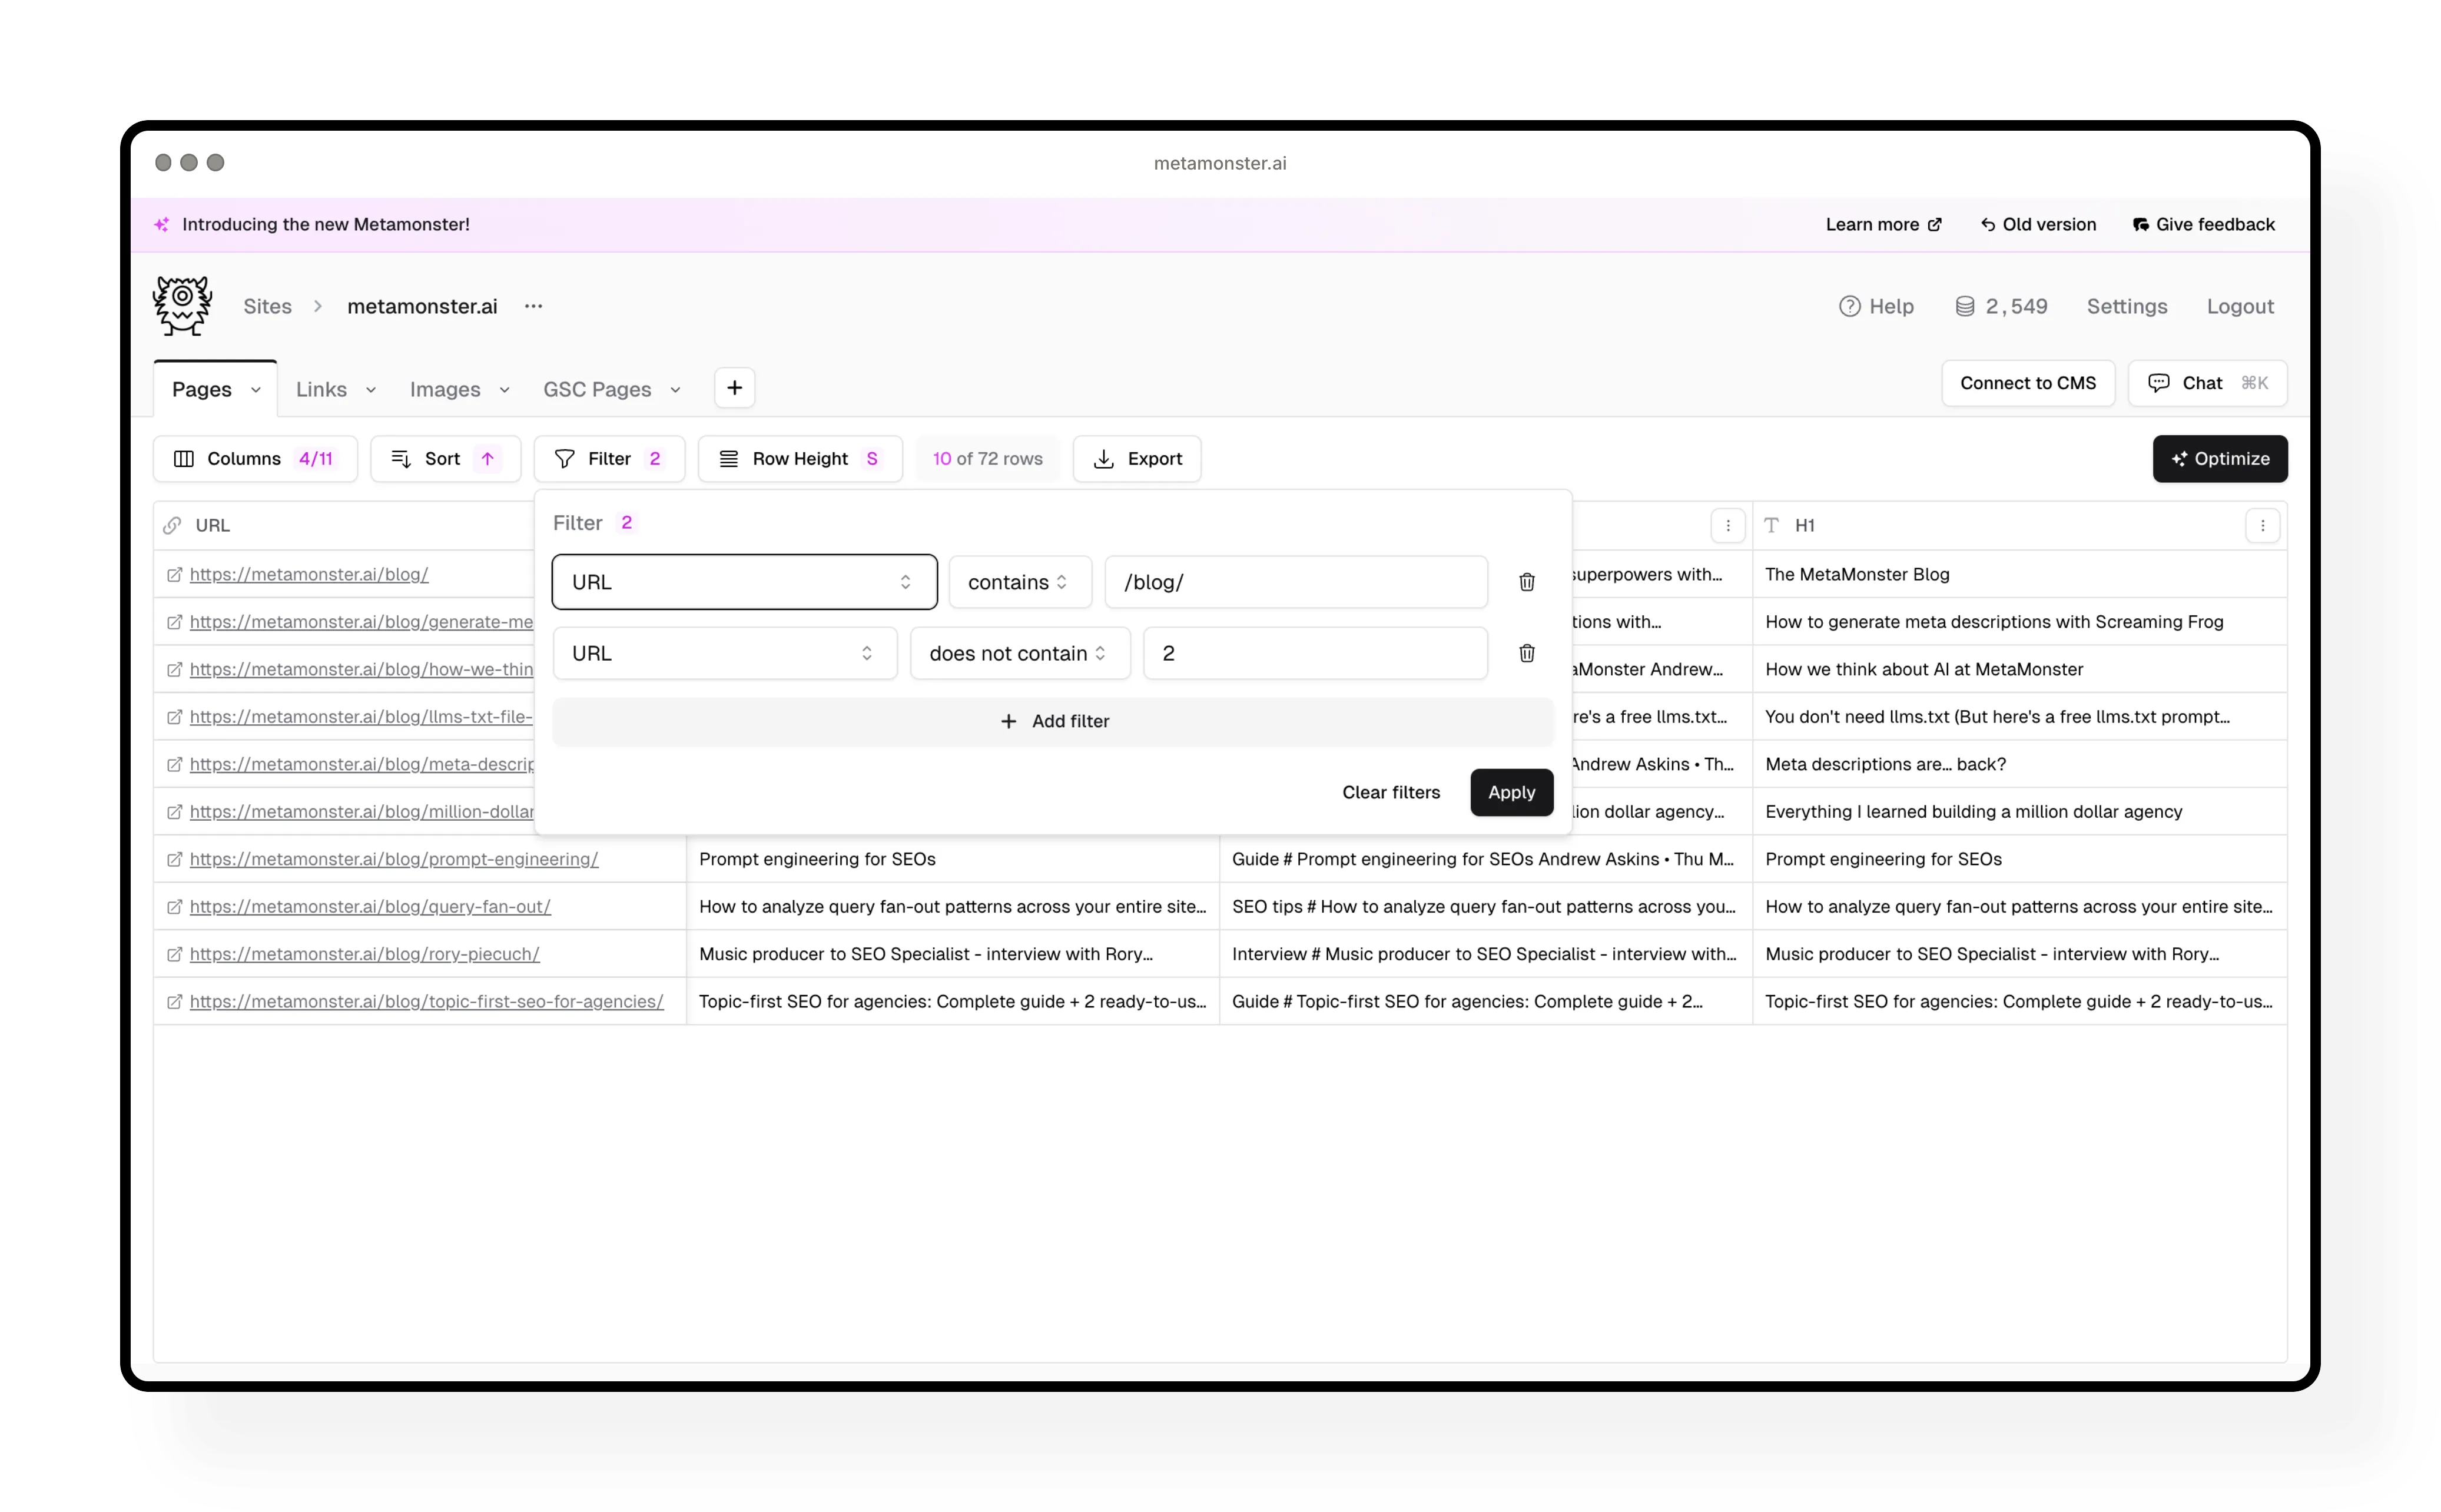
Filters are one of the most useful features for narrowing down your work. You can add multiple filters to show exactly what you need.
Common filter examples:
Exclude pagination: URL does not contain /2
Exclude utility pages: URL does not contain /privacy and URL does not contain /terms
Focus on blog posts only: URL contains /blog
How it works: After applying filters, you’ll see how many rows match (for example, “68 of 72 rows”). This lets you work on specific subsets of pages without affecting the rest of your site data.
Adjusting row height
Use the row height control to make rows larger or smaller. Larger rows let you see more content at a glance without opening individual cells.
Exporting your data
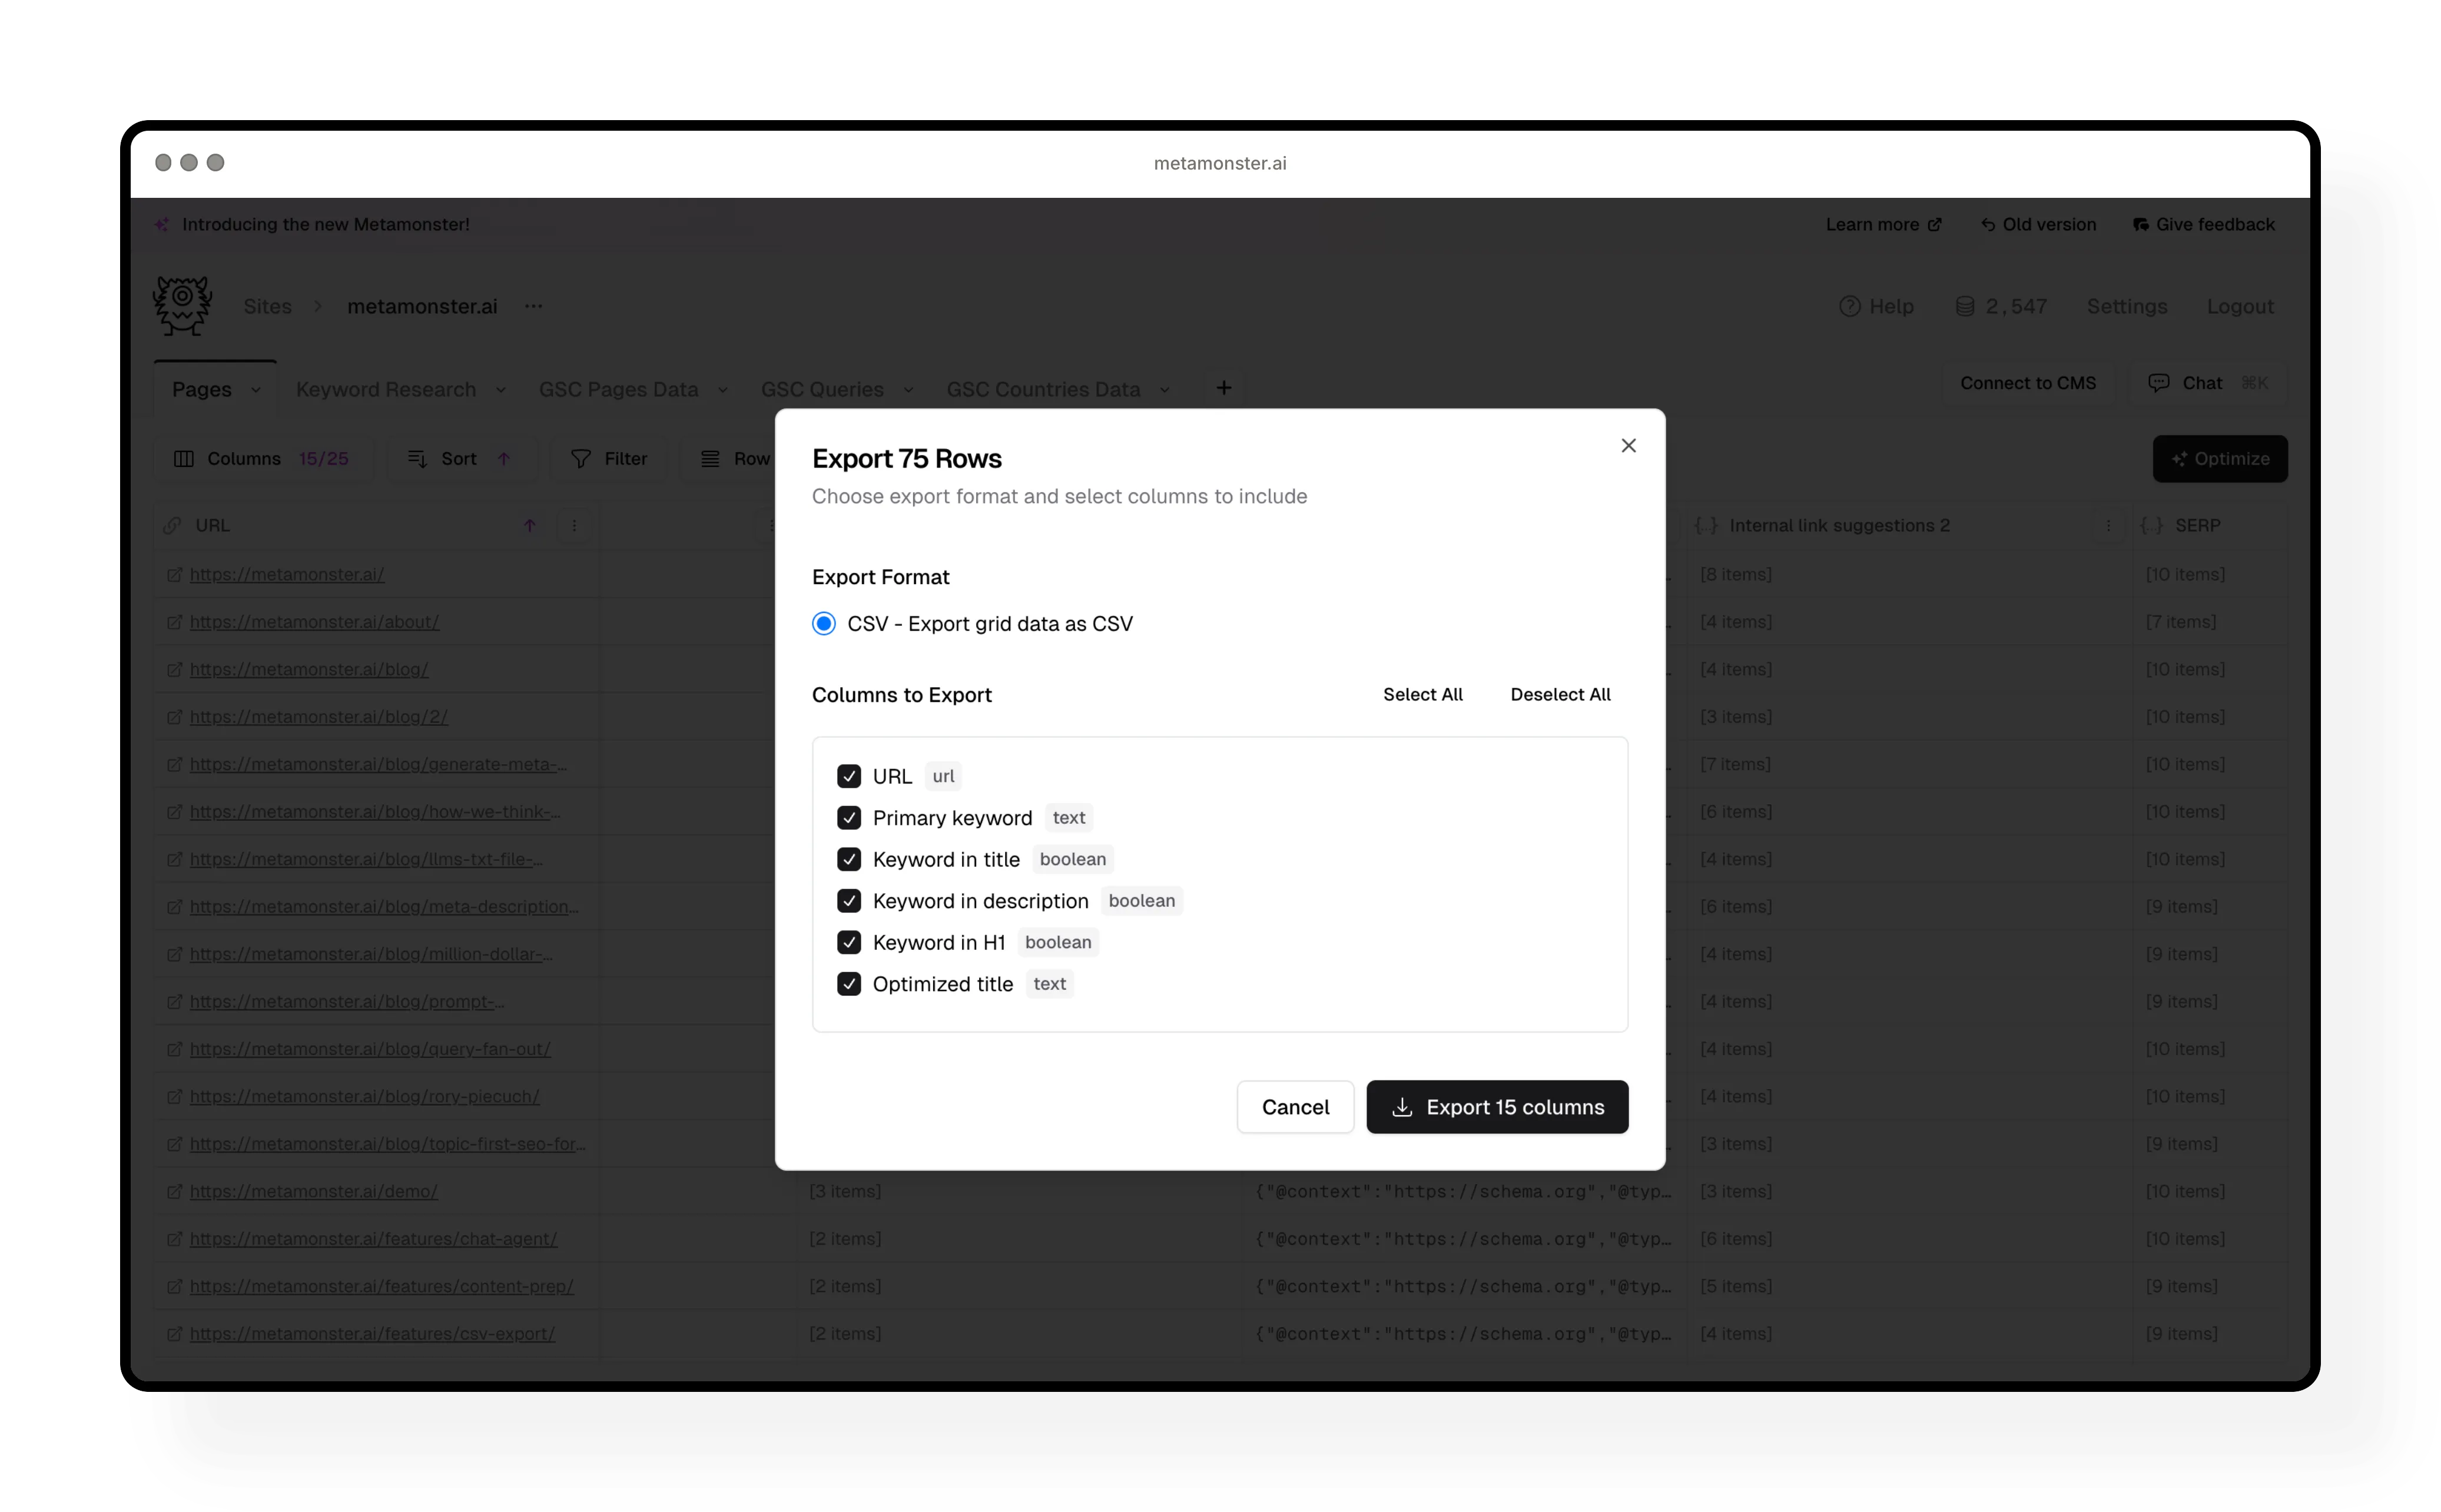
Click the “Export” button to download your data:
CSV export: Get all your table data in a spreadsheet format. Perfect for sharing with your team or importing elsewhere.
Markdown export: Download just the page content as markdown files. Useful for feeding content to other AI tools.
The Run a workflow button
This is where you’ll do most of your work. Click “Run a workflow” to access workflows and generate SEO optimizations at scale.
Note: In screenshots, this button may be labeled as “Optimize.” This is the old name for “Run a workflow.”
We’ll cover this in detail in the Running Workflows guide.
Connect to CMS
Use this button to connect MetaMonster to your CMS. Currently supports WordPress, with Webflow, Shopify, and more coming soon.
This lets you sync your optimizations directly to your site without manual copy-pasting.
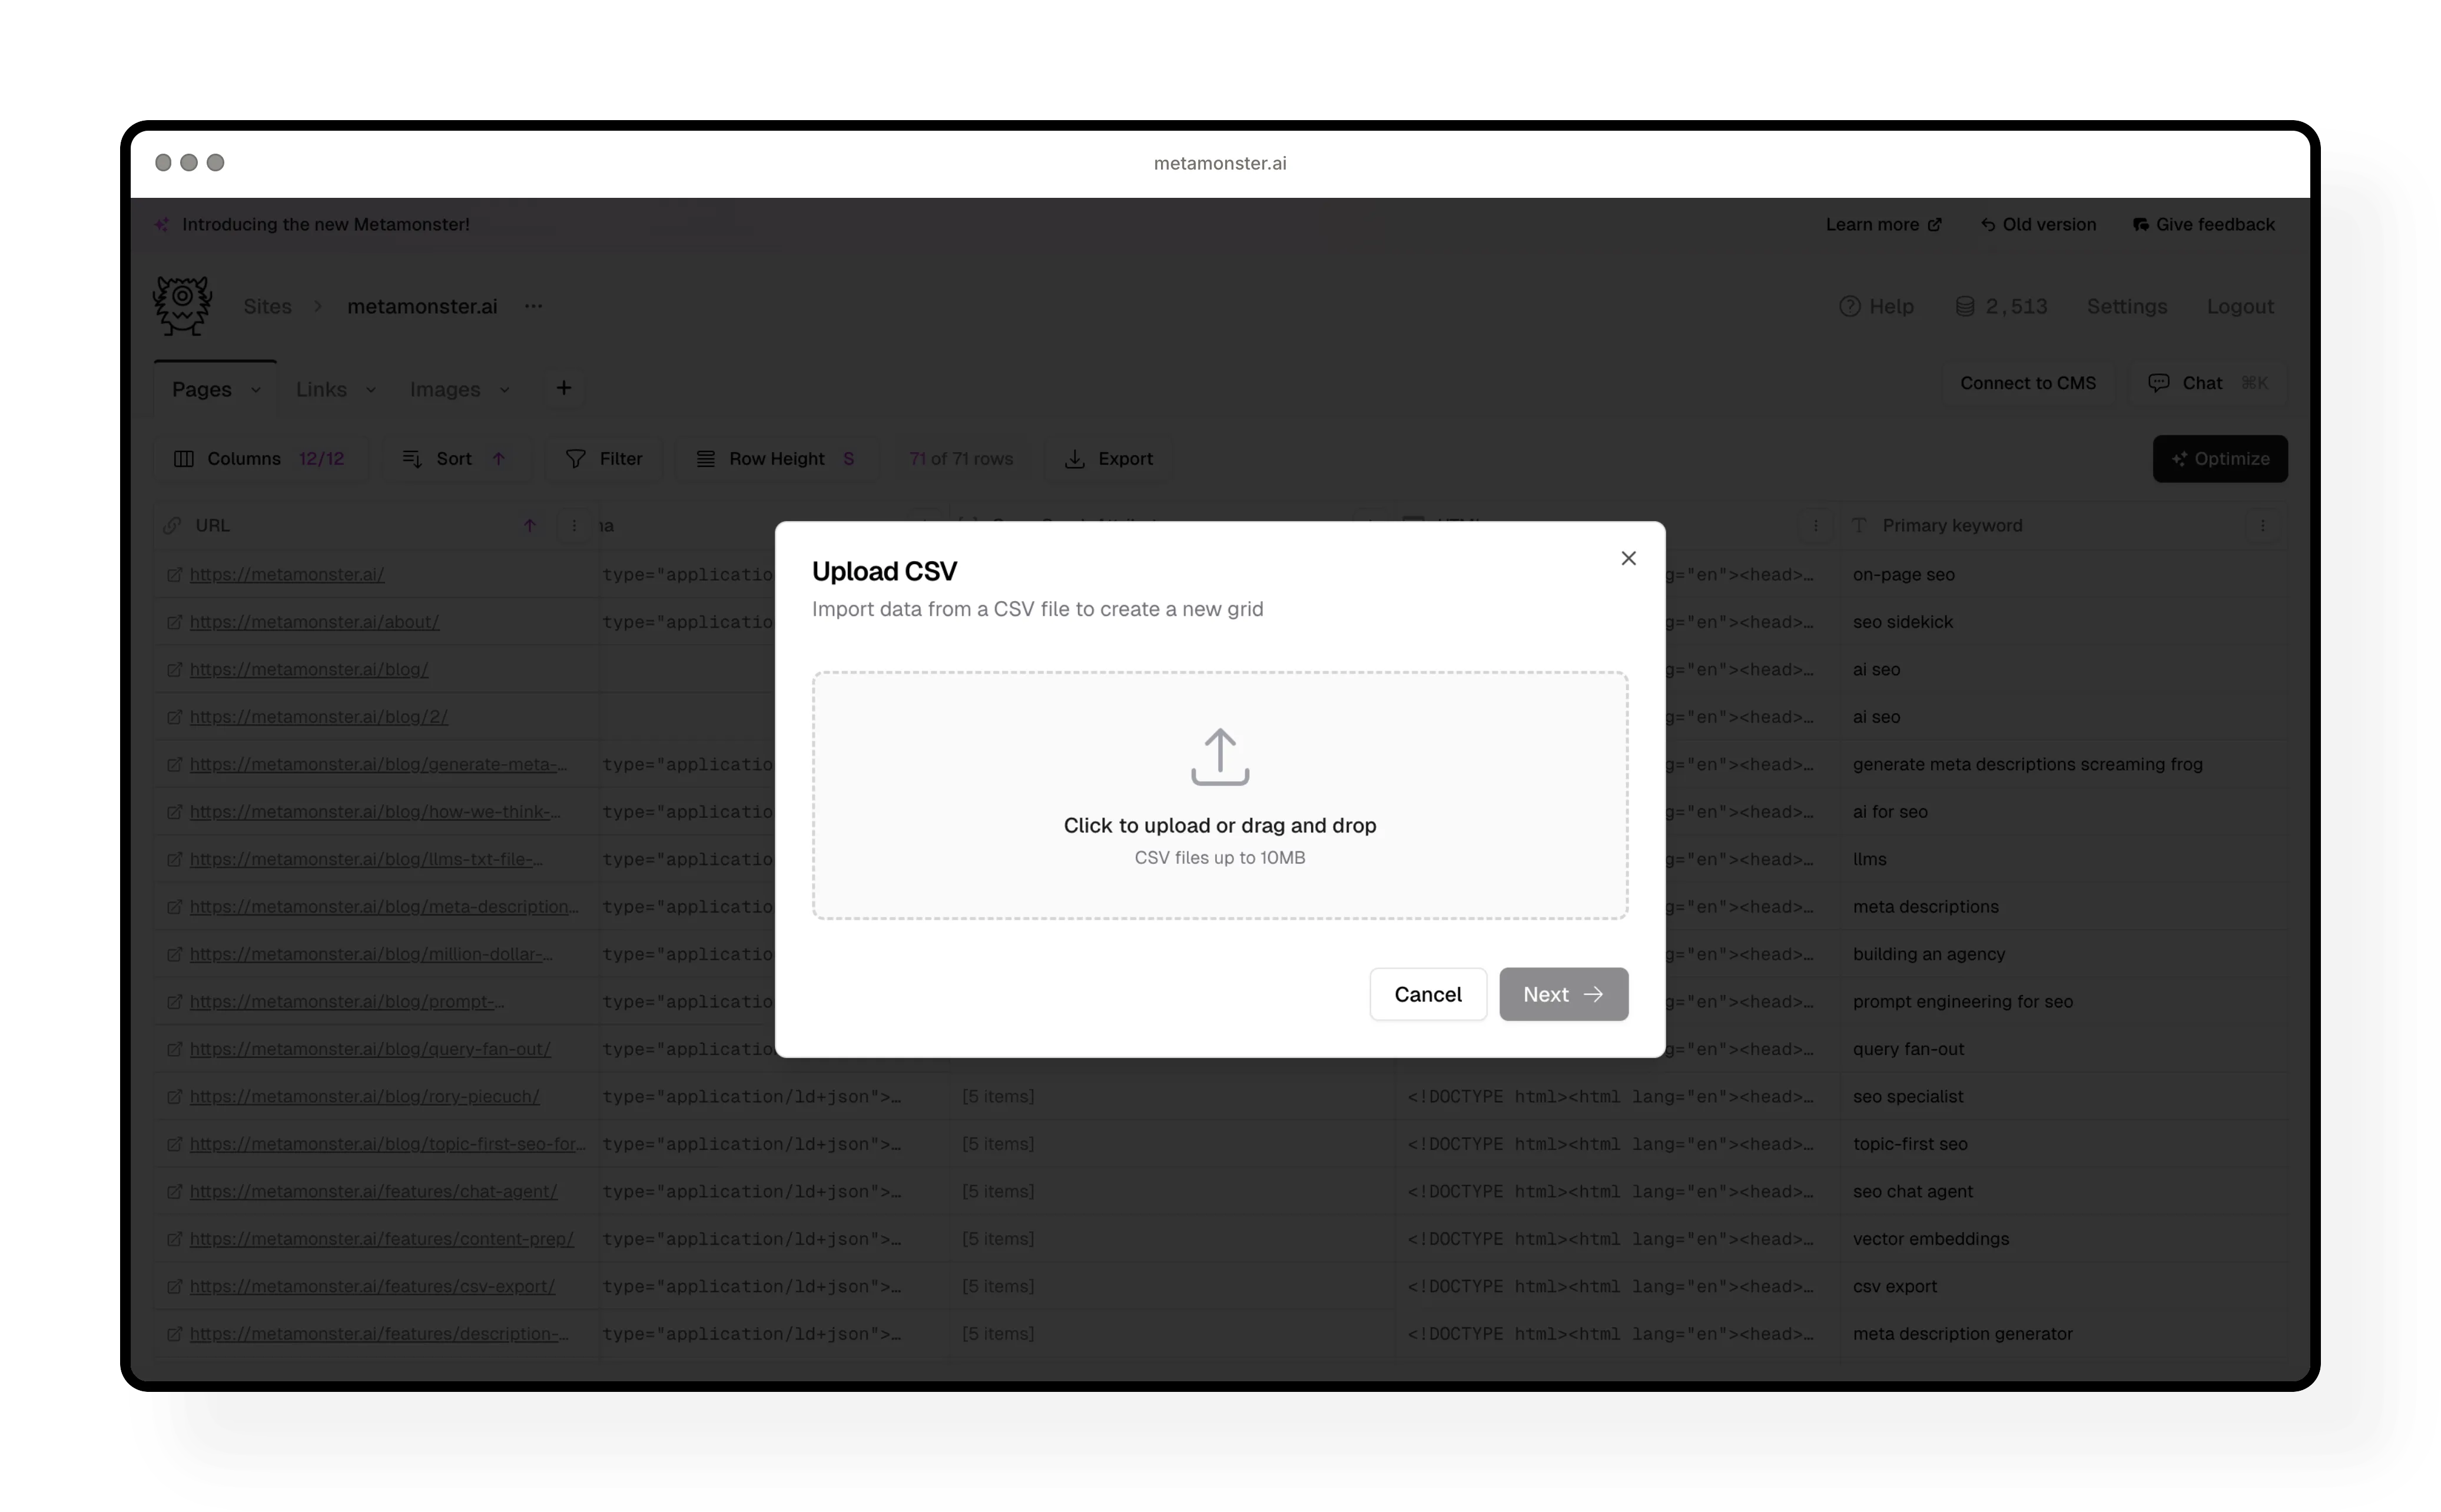
Importing additional data
Click the ”+” button to upload a CSV and add new data to MetaMonster. This is really useful for:
- Importing keyword research
- Adding Google Search Console data
- Creating content briefs for new pages
- Any other data you want to work with in MetaMonster
Example workflow: Want to create help guide content? Upload a CSV with your topics, then run a workflow to generate content for each row.
Where workflow results appear
As you run workflows, new columns will appear on the far right of your table. They’re added in the order they were created.
You can use the Columns menu to hide or show these as needed to keep your workspace organized.
Coming soon
We’re adding more table features:
- Add and delete columns and rows manually
- Create new grids from scratch (without uploading a CSV)
- Import grids directly from your CMS
Next steps
Now that you know how to navigate the table, check out the Getting Started guide to learn how to run workflows and export your work.
Need more help?
Can't find what you're looking for? Email us at support@metamonster.ai or chat with our team.